Electric Roller Shutter Manual Override: How To Use It
Your electric roller shutter won’t budge, the power’s out, and you need to get through, now what? Some electric roller shutter have electric roller shutter manual override feature built in for exactly this situation. It’s a simple mechanism, but if you’ve never used it before, it can feel like a guessing game. Knowing how it works before an emergency hits saves you time, stress, and potentially a call-out fee. Or looking to add a new roller shutter, this is an option. or we can upgrade your exisiitng roller shutter.
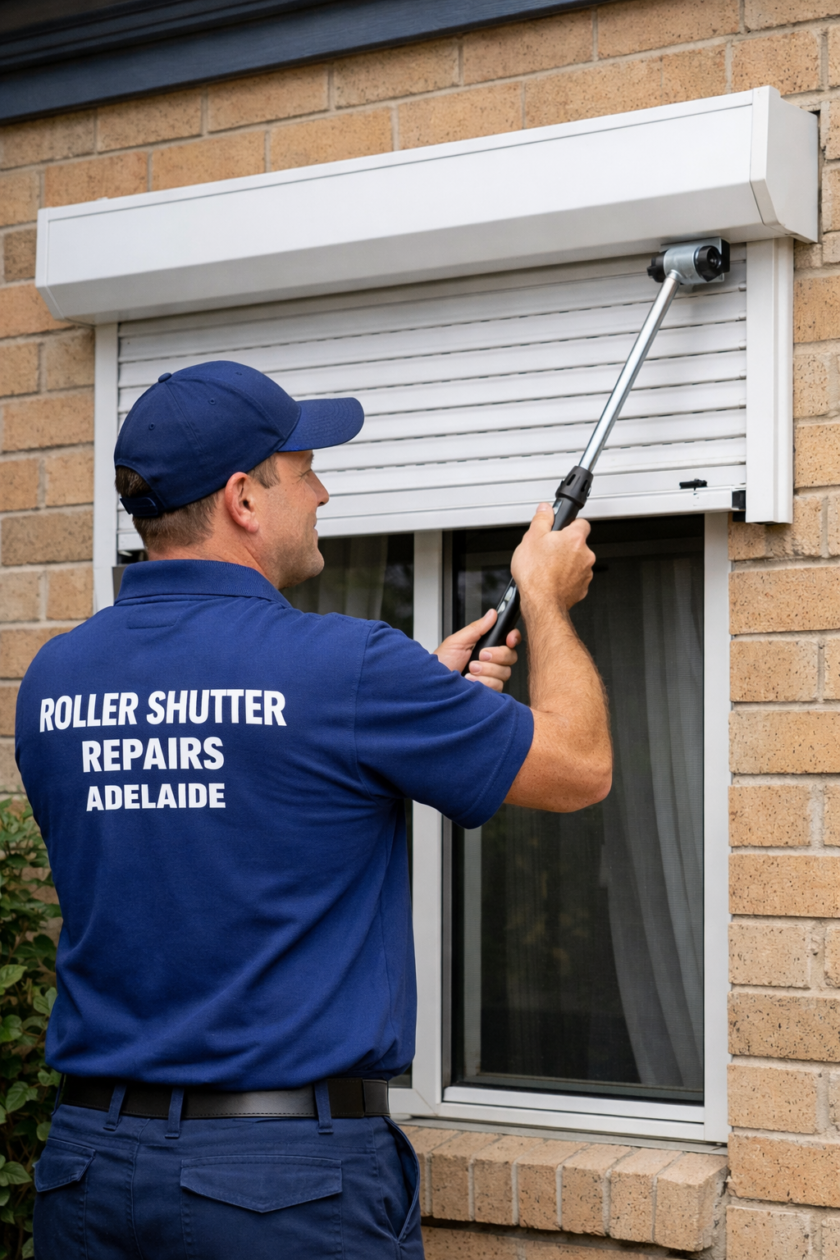
At Roller Shutter Repairs Adelaide, we’ve spent over 40 years fixing, maintaining, and upgrading roller shutters across Adelaide. We get calls about this exact scenario every week, homeowners and business owners stuck on the wrong side of a shutter during a power outage or motor failure. Most of the time, the manual override sorts it out in minutes. The trick is knowing where to find it and how to use it properly without damaging your shutter.
This guide walks you through the full process step by step. We’ll cover how manual overrides work on different shutter types, the tools you’ll need, and common mistakes to avoid. We’ll also explain when it’s safe to handle things yourself and when it’s time to call a technician for a closer look.
What a manual override is and how it works
A manual override is a built-in failsafe on some electric roller shutter that lets you operate the shutter by hand when the motor cannot run. It disconnects the motor from the drive mechanism, so you can move the shutter without fighting against the motor’s internal resistance. Most people never touch this feature until something goes wrong, but understanding it means you can act quickly and avoid damaging your shutter in the process.
The basic mechanics
The electric roller shutter manual override works by disengaging the motor from the shutter’s drive shaft. In most systems, the motor has a clutch or release mechanism that, once activated, lets the shutter’s weight and your manual input do the work instead. On tubular motor systems, this usually involves a release cord or key that you pull or turn to disengage the clutch. On side-winding systems, a similar release lever or cord disconnects the drive.
Once the motor is disengaged, the shutter moves freely, but you take on full responsibility for controlling its weight.
Types of manual override systems
Not every shutter uses the same override method, so knowing your system before an emergency saves you valuable time. The three most common types you’ll find in Adelaide homes and businesses each require a slightly different approach:
- Release cord (tubular motor): A cord, usually red or yellow, hangs from or near the motor housing. Pulling it disengages the clutch.
- Hex key or crank handle: Some motors have a socket on the end cap where you insert a hex key or crank to wind the shutter up or down manually. Most common on residential shutters.
- Side-winding strap or handle: On older or simpler systems, a strap or manual handle on the side of the housing lets you wind the shutter up and down without any motor involvement.
Step 1. Make it safe before you start
Before you touch anything, take a moment to assess the situation properly. A manual override on a shutter that’s under unusual tension or physically damaged can cause injury or turn a simple fix into an expensive repair. These two checks only take a couple of minutes and could prevent a much bigger problem.
Cut the power at the switchboard or call 0414611662
Even during a power outage, residual charge in the motor’s capacitor can trigger an unexpected movement the moment the motor re-engages. Head to your switchboard and isolate the circuit that feeds your shutter before you start. If you’re unsure which circuit it is, switch off the main power entirely. It takes under a minute and removes a real safety risk.
Never begin an electric roller shutter manual override procedure without isolating the power first.
Check for visible damage before you proceed
Look over the shutter, its slats, and the guide tracks on both sides before you move anything. Watch for bent or cracked slats, debris caught in the guides, or a broken spring or strap. If you spot any structural damage, do not force the shutter. Moving a damaged shutter manually can cause it to drop without warning.
Step 2. Find the manual override on your shutter
The location of the electric roller shutter manual override varies depending on your shutter type, so knowing where to look first saves you from fumbling around. For most residential shutters in Adelaide, the override is accessible without tools and positioned so you can reach it from the ground.
Tubular motor systems
On a tubular motor shutter, the override sits inside or near the motor casing at the top of the shutter box. Look for one of the following:
- A hanging cord (usually red or yellow) dangling from the motor housing
- A small hex socket on the end cap of the motor
- An access panel on the side of the pelmet box that opens to reveal the release
If you cannot spot a cord or socket, check the model label on your motor for the manufacturer’s reference number and locate the corresponding diagram.
Side-winding and strap systems
Side-winding and strap-operated shutters keep the override mechanism visible and easy to reach. You’ll find the strap or handle mounted on the wall bracket beside the shutter box.
Check that the strap is intact and not frayed before you use it. A worn strap can snap under load and send the shutter dropping without warning.
Step 3. Operate the shutter manually
Once you’ve located the override and confirmed it’s safe to proceed, move slowly and with control at every stage. The electric roller shutter manual override removes motor resistance, meaning the shutter’s full weight is now yours to manage. Rushing this step is how shutters get damaged or people get hurt.
Using a release cord
Pull the release cord firmly until you feel the clutch disengage, then grip the bottom rail with both hands before moving anything. Keep even pressure across the full width of the rail to stop the shutter binding in the guides as you raise or lower it.
Never let go of the bottom rail until the shutter reaches a fully open or fully closed position.
- Raise: lift the bottom rail steadily upward, letting the shutter coil onto the roll
- Lower: guide the rail down at a controlled pace, never letting it drop freely
- Stop: hold the rail firmly at the position you need and prop it if necessary
Using a hex key or crank handle
Insert the hex key or crank into the socket on the motor end cap and turn it slowly in small increments. Watch the shutter move as you crank so you can stop immediately if it binds or catches in the guides.
Most motors use clockwise rotation to raise the shutter and anti-clockwise to lower it. Always check the label on your motor casing to confirm the correct direction for your specific model before you apply any real force.
Step 4. Re-engage the motor and fix common faults or call 0414611662
Once you’ve moved the shutter to the position you need, re-engaging the motor correctly is just as important as the override itself. Skipping this step can leave your shutter in a partially disengaged state, which puts extra wear on the motor when power returns.
Re-engaging the motor
Reverse the exact steps you used to activate the electric roller shutter manual override and confirm the clutch has clicked back into place. Remove any hex key or crank from the socket before switching the circuit back on at the switchboard.
Always restore power at the switchboard last, after the motor is fully re-engaged.
- Pull the release cord back to its resting position and confirm you hear the clutch engage
- Remove the hex key or crank, then restore power at the switchboard
- Test the remote or wall switch before relying fully on the motor
Common faults after manual operation
Run the shutter through one full open and close cycle using the motor to confirm everything works. Watch for uneven movement or grinding sounds, which can indicate damage needing professional attention.
- Motor doesn’t run: Check the circuit breaker and remote battery first
- Shutter binds in guides: Clear debris from the guide tracks
- Motor runs but shutter doesn’t move: The clutch may need professional adjustment
If you cannot use the override
Sometimes the electric roller shutter manual override simply won’t cooperate. The cord may be snapped, the motor end cap inaccessible, or the shutter itself may be jammed from a broken slat or bent guide track. In these cases, forcing the mechanism risks turning a straightforward fix into a full motor replacement or structural repair.
When the override isn’t accessible or the shutter won’t move under manual control, stop and call a technician. Attempting to force a stuck shutter can buckle the slats, strip the motor gears, or cause the curtain to drop suddenly. Getting a professional in quickly is almost always cheaper than repairing the damage that comes from forcing it.
For fast, experienced help anywhere across Adelaide, contact the team at Roller Shutter Repairs Adelaide. With no call-out fees and technicians covering all Adelaide suburbs, you’ll get a proper fix without the guesswork.