What Really Happens During a Roller Shutter Installation? A Step-by-Step Walkthrough
A shutter that won’t close properly at night or gets stuck halfway down is more common than people think. Many homeowners across Adelaide only realise the importance of proper fitting after something goes wrong. That’s where understanding a roller shutter installation manual becomes useful, even if you’re not the one doing the work.
This blog walks through what actually happens during installation, based on how local service providers approach it. Clear steps, real process, and no guesswork.
Why Installation Quality Matters in Real Homes
Across Adelaide suburbs, roller shutters are used for more than just privacy. They help with insulation, security, and noise control. But those benefits only show up when the installation is done correctly.
Poor fitting often leads to:
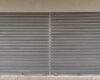
- Shutters not sealing properly
- Increased outside noise entering the home
- Early wear in motors and moving parts
Local repair services often point out that most call-outs are not due to product failure, but installation errors.
On-Site Inspection and Accurate Measurements
Every proper window shutter installation begins with a site visit. No serious installer skips this. Technicians check window dimensions, wall condition, and mounting areas. Homes in older Adelaide areas sometimes have uneven surfaces, which need small adjustments during measurement. Even a slight miscalculation can affect how smoothly the shutter rolls.
roller shutter installation manual
Recommending the Right Setup
Installers don’t just bring one type of shutter. They assess what suits the property.
Some homes need manual shutters for smaller windows. Others benefit from motorised systems, especially for larger openings or frequent use. Factors usually considered include sun exposure, window size, and daily usage.
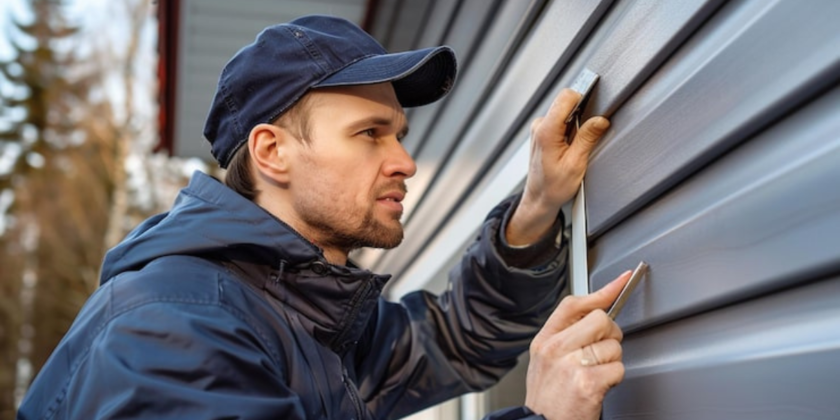
Preparing the Installation Area
Preparation is quiet work, but it matters a lot. Installers clean the area, mark precise drill points, and ensure the surface is ready. This step prevents future issues like loose fittings or uneven alignment. Skipping preparation is one of the most common reasons shutters fail early.
Fixing the Tracks and Headbox
Side tracks are installed first. These guide the shutter as it moves up and down. They must be perfectly straight.
Then the headbox is fitted at the top. This houses the rolling mechanism and protects internal parts. Small detail, but important. Installers repeatedly check alignment during this step. It’s not a one-time check.
Installing the Shutter Curtain
This is where the system starts to feel real. The shutter curtain is placed into the tracks and connected to the roller. Movement is tested manually first. Any resistance or uneven motion is corrected immediately before moving forward.
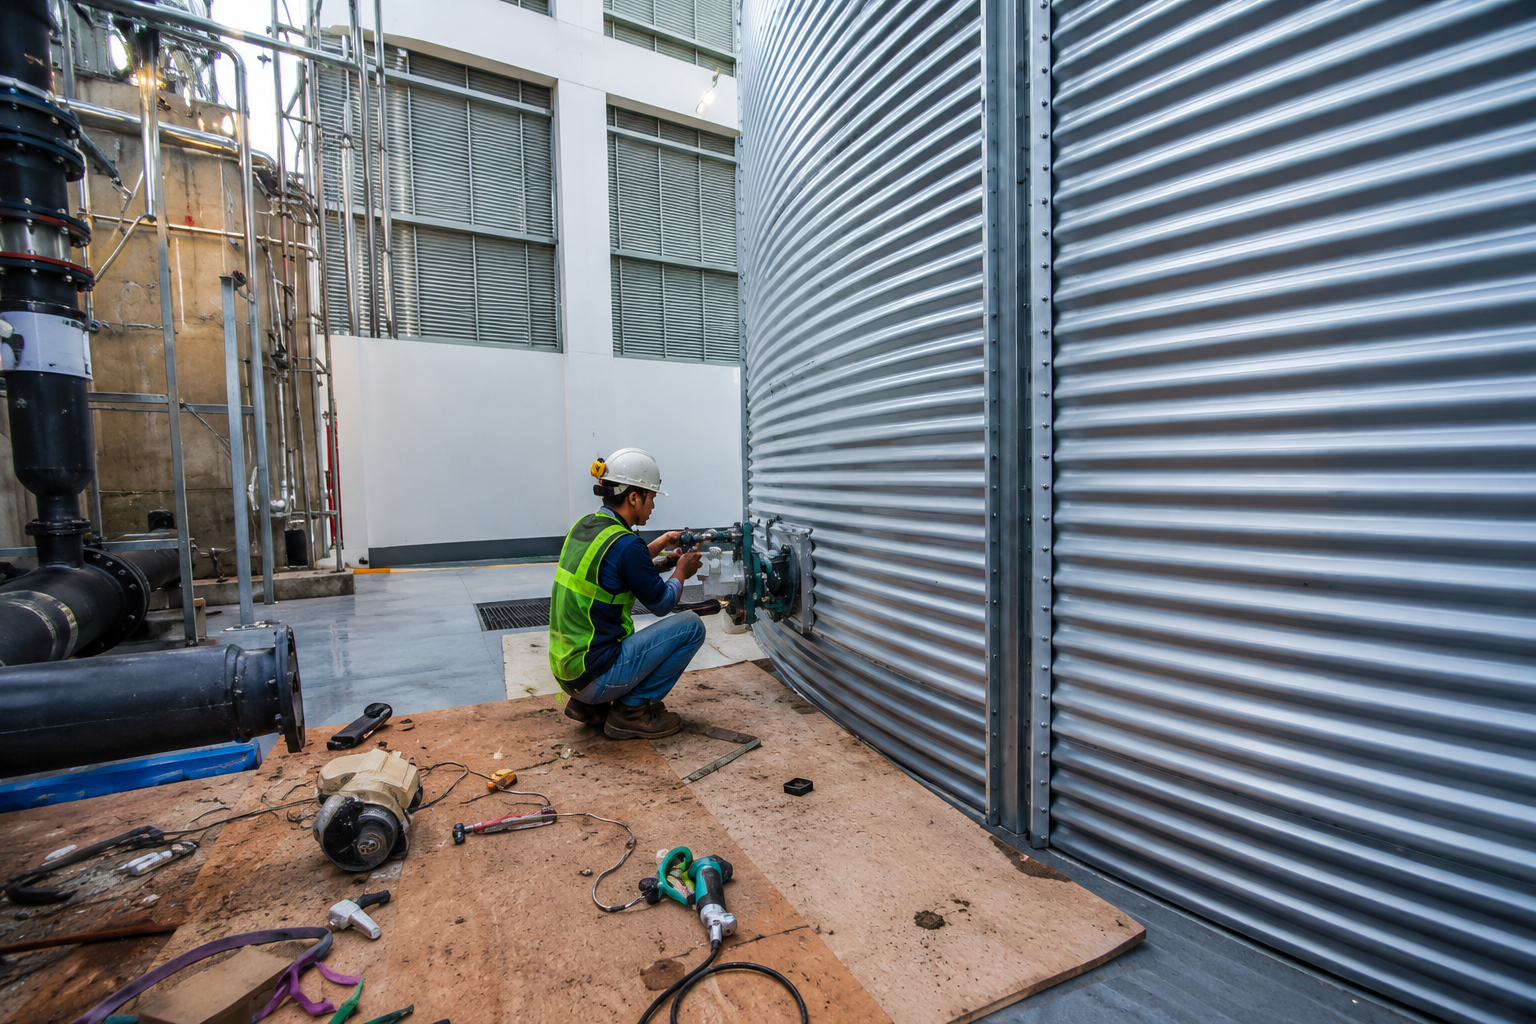
Motor Setup and Electrical Work
Motorised shutters need careful handling. The motor is installed inside the roller tube and connected to power. Then comes syncing with switches or remote controls.
Common steps include:
- Testing the power connection and response
- Adjusting motor limits for smooth opening and closing
- Safety features are to be in good working order
Local experts usually point out that inappropriate motor installation is one of the primary reasons for repeat repairs.
Final Testing and Adjustments
Everything is tested multiple times before the job is complete. Installers check movement, locking systems, and overall stability. If something feels off, even slightly, adjustments are made on the spot. A properly installed shutter should operate smoothly without noise or resistance.
A Real Insight from Adelaide Installations
The service providers in Adelaide frequently get calls where the shutters were installed hastily but not properly. Misaligned tracks are one such problem, which leads to jamming of the shutters in a few weeks.
Fixing it usually takes more time and cost than doing it right the first time. That’s why experienced installers focus more on precision than speed.
Practical Advice Before Getting Shutters Installed:
- The correct on-site inspection should always be requested.
- Establish whether the installer adheres to the formatted roller shutter installation.
- Determine whether the warranty can cover the product and the installation.
These minor checks will guard against greater evils in future.
Conclusion
Installing a roller shutter does not solely involve attaching a product to a window. It is a process that is step-by-step and each step has an influence on performance, durability and safety.
From measurement to final testing, every detail matters. Properly installed, shutters are silent, run smoothly and can last years of trouble-free service.
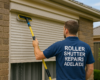
Roller Shutter Repairs Adelaide is a reliable company in the area to get the proper service and right installation practices for homeowners.
FAQs
- What is included in a roller shutter installation manual?
A roller shutter installation manual usually covers measurements, track fitting, motor setup, and safety checks. It acts as a step-by-step guide for correct installation.
- How long does a window shutter installation take?
Most standard installations take 2 to 4 hours per window, depending on size and complexity.
- Can I do a window shutter installation myself?
DIY is possible for manual shutters, but professional installation is recommended for accuracy and long-term durability.
- What are the signs of a poor roller shutter installation?
Common signs include uneven movement, unusual noise, gaps around edges, and difficulty in opening or closing.